

Connecting a subwoofer with an RCA cable is usually a single lead: run one RCA from the sub out or LFE socket on your receiver or processor to the input marked LFE on the sub, and you are done. The questions arrive when the sub has left and right inputs instead, when the amplifier has no sub output at all, or when the run is long enough to pick up hum. This guide works through each case, plus the crossover settings that make the connection worth making.
The standard connection: one RCA cable
Every AV receiver and most stereo amplifiers with home theatre ambitions carry a subwoofer pre-out, a single RCA socket carrying a mono, already filtered low frequency signal. The subwoofer's matching input is usually labelled LFE, sometimes with a switch that bypasses the sub's own crossover. One shielded RCA cable between them is the whole job. Despite the sub's two channel appearance on some models, the signal is mono, and only one input needs feeding. Choose the socket marked LFE or mono if one exists; it bypasses the sub's internal filter so the receiver's bass management does the work without doubling up.
When a Y-cable actually helps
Some subwoofers present left and right RCA inputs with no LFE marking. Feeding just one works, but many of these subs sum the two inputs, and splitting the single sub out into both with a Y-cable raises the input sensitivity by roughly 6dB, which means the sub's gain control sits lower and its auto-standby wakes more reliably. That is the legitimate use of a Y adapter, and it is one of the few we endorse, as our guide to RCA adapters and splitters explains. The other legitimate use runs the same trick in reverse for twin subwoofers: one sub out, a Y split, one cable to each sub. What a Y-cable never does is combine two sources into one input, and it will not fix a hum problem.
No sub out? High level inputs, the REL way
Plenty of fine stereo amplifiers have no subwoofer output, and the elegant answer is the high level input fitted to REL subwoofers as standard and to several SVS models. A high level connection takes its signal straight from the amplifier's speaker terminals, in parallel with the main speakers, through a cable that ends in a Neutrik Speakon connector at the sub on REL's implementation. The sub's input presents an enormous impedance, so it draws effectively no power and places no load on the amplifier; it simply listens to the same signal your speakers receive.
REL champions this method for music systems, and we agree, for two reasons. The sub inherits the exact character of the power amplifier feeding your speakers, so the blend is naturally coherent. And the connection needs no cooperation from the amplifier at all, which makes it universal. The wiring detail that matters: the high level lead takes signal from the positive terminals, with the ground reference taken as the manufacturer specifies, so follow the sub's manual rather than improvising. The run itself is ordinary speaker cable, which is where our speaker cables bench service comes in for long or awkward runs.
Crossover basics
The connection carries the signal; the crossover decides what the sub does with it. With a receiver doing bass management, start at 80Hz, the long standing THX reference, and set the sub's own filter dial to maximum or LFE so it does not stack a second filter on top. With a high level connection into a stereo system, the sub's filter is the only one in the path, so set it by ear and by room: start low, around the frequency where your main speakers begin to give up, and nudge upward until the bass sounds continuous rather than located. Phase then fine tunes the handover; try both settings of the 0 and 180 degree switch and keep whichever gives more bass at the listening seat, because the louder setting is the one where sub and speakers are adding rather than cancelling. Level last: the sub should fill underneath the music, and the moment you notice it as a separate source, it is too loud.
Placement, briefly
No crossover setting rescues a badly placed sub. Corners give the most output and the most room boom; mid-wall positions are smoother; and the listening seat itself decides what you hear more than any dial. The classic trick still works: put the sub in your chair, play something bass heavy, crawl around the room's edges and find where the bass sounds most even, then put the sub there. Do this before you order the cable, because the right position sets the right length, and a cable built for the sub's final home is the one that never needs a coupler.
Cable length and routing
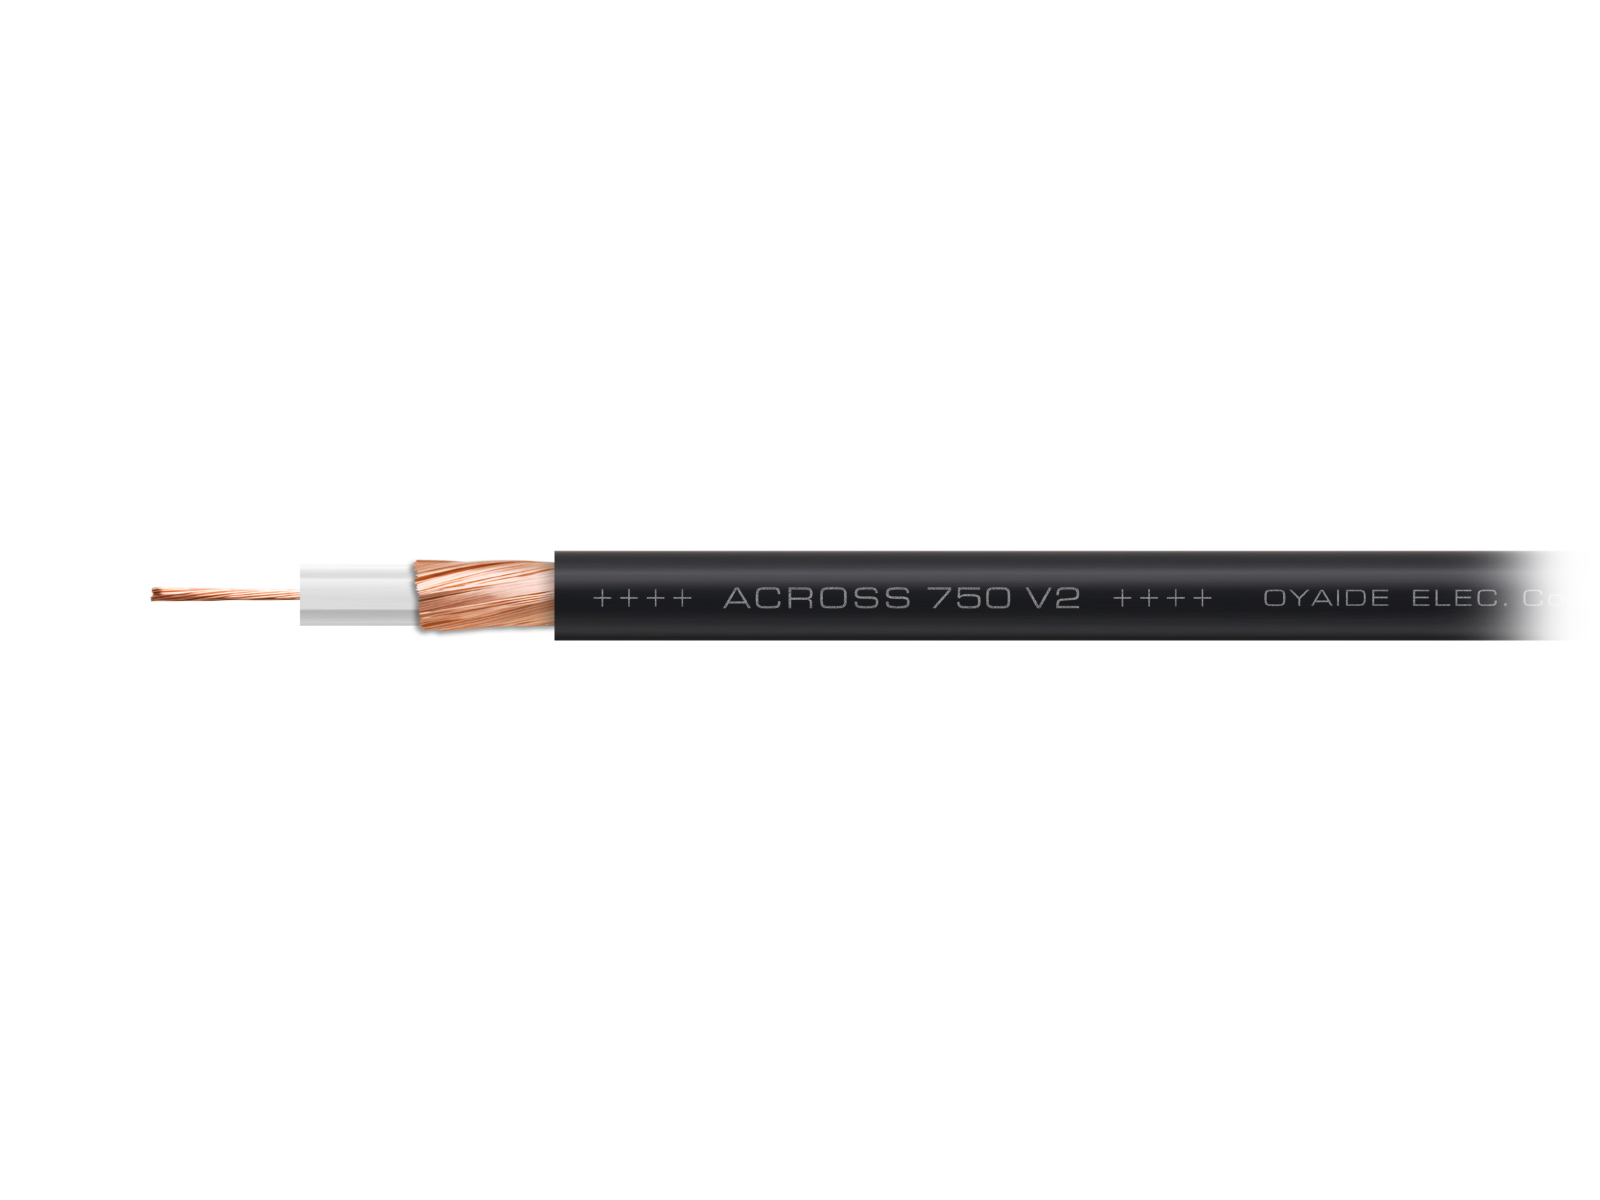
Subwoofer cables are frequently the longest analogue runs in the house, eight or ten metres when the sub lives in a corner or behind the couch. The good news is that the sub out is a low impedance source, so distance costs little; the catch is that the run is unbalanced, and every metre is potential aerial for mains hum. This is why we insist on properly shielded cable for sub runs, and why we build them to exact length rather than selling coiled spare metres. Route away from power cords where you can, and cross them at right angles where you cannot. The Jami RCA, from $142, built on Oyaide's shielded ACROSS 750 V2 wire, is the build we reach for on long sub runs, precisely because its braided 102SSC shield is the difference between silence and a 50Hz hum you will chase for a week.
Our recommendation
Receiver with a sub out: one shielded RCA to the LFE input, 80Hz, done. Sub with left and right inputs and no LFE: add a Y-cable. Stereo amplifier with no sub out: high level via Speakon or speaker terminals, and let the sub follow the amplifier's own voice. Our analogue interconnects category covers the shielded RCA builds, cut to the metre your room needs, and if the run is unusual, the twin sub split, the fifteen metre trip around the skirting, describe it on the custom order form and we will build the single cable that fits.