

To connect a balanced XLR output to an unbalanced 3.5mm input you need a cable wired for the conversion: XLR pin 2 carries the signal to the 3.5mm tip, pin 3 is tied to ground at the XLR end, and the shield lands on the sleeve. A stereo 3.5mm input needs two such XLR leads, one per channel. Done this way the link is clean and safe; done with a random adapter it hums, clips, or both. This guide covers the wiring, what you give up in the conversion, and the hum fixes that actually work.
Why the two formats exist
A balanced XLR connection carries the signal twice, once in normal phase on pin 2 and once inverted on pin 3, so the receiving input can subtract one from the other and cancel any noise the cable picked up along the way. An unbalanced 3.5mm jack has no such trick: signal on one conductor, ground on the sleeve, and any interference that gets in is simply added to the music. Our balanced versus RCA guide explains the circuit properly; the short version is that balanced exists to reject noise, and converting to unbalanced throws that rejection away for the rest of the run.
The right cable, wired properly
The correct conversion wiring is settled practice. At the XLR end, pin 2, the hot leg, goes to the signal contact. Pin 3, the cold leg, is tied to pin 1, ground, at the XLR end, which tells the source's output stage it is feeding an unbalanced input and lets both legs drive correctly. The cable shield also lands on pin 1 and runs to the 3.5mm sleeve. Tying cold to ground at the source end, rather than the destination end, keeps the shield doing its job as a shield rather than as a signal return.
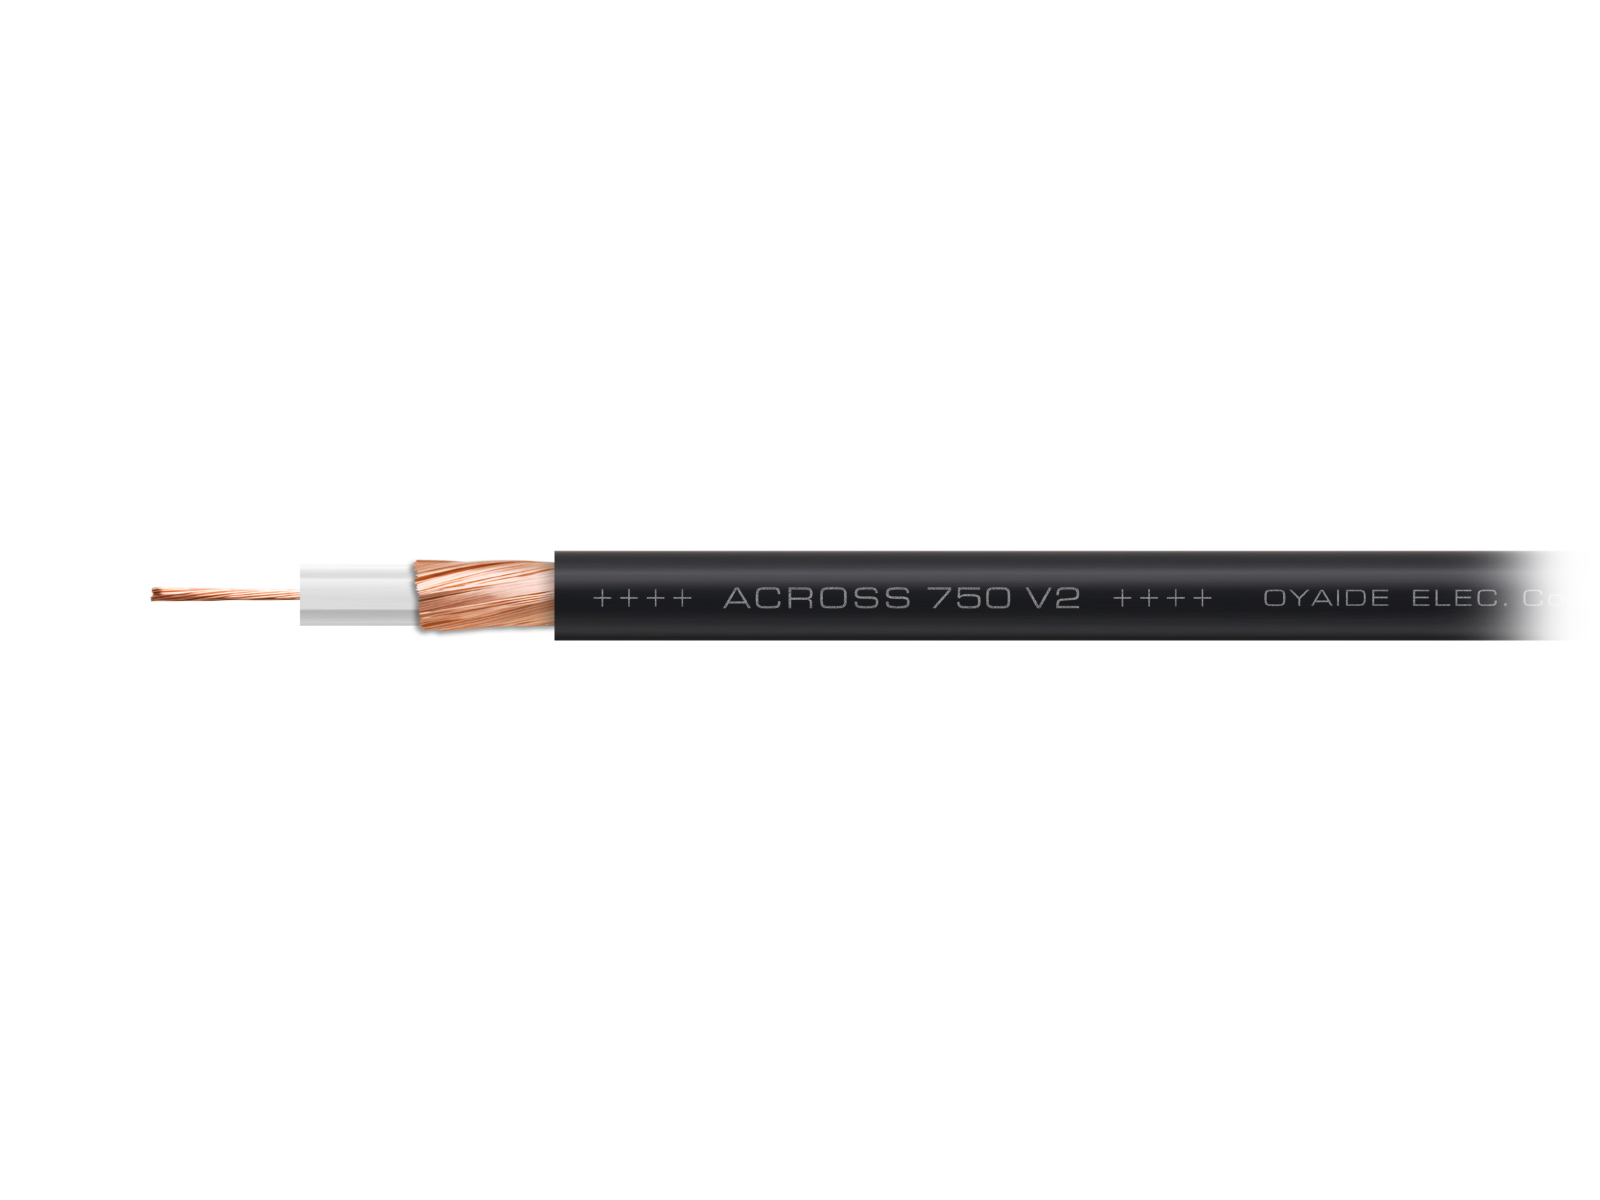
For a stereo 3.5mm input, which is what the jack on active speakers, cameras and portable recorders almost always is, you need two XLR connections: the left channel XLR to the 3.5mm tip, the right channel XLR to the ring, grounds combined on the sleeve. A single XLR to 3.5mm lead suits a mono destination. When we build these in the workshop it is one cable, two XLR tails into a single TRS plug, cut to the length the rig needs, because every adapter in the chain is a joint waiting to crackle.
What you lose in the conversion
Three things, and it pays to know them before blaming the cable.
- Noise rejection. The 3.5mm end of the link is unbalanced, so the run behaves like any other single ended cable. Over a metre or two in a quiet room, irrelevant. Across a stage or a studio floor full of lighting dimmers, it is why the professional answer is to stay balanced as far as possible and convert at the last moment.
- Half the signal. Dropping the cold leg drops 6dB of level. The destination's volume control restores it, at the cost of working a little further into its noise floor.
- Level mismatch. Professional XLR outputs run at +4dBu, hot by consumer standards, while many 3.5mm inputs expect a fraction of that. Into a line level input the result is merely loud. Into a camera or recorder's mic level input it will overload savagely, and the fix is an attenuating cable or the destination's pad and line level setting, plus the output level turned down at the source.
Common scenarios, and what each needs
- Audio interface or mixer to active speakers: if the speakers offer only a 3.5mm input, run two XLR tails into one stereo TRS lead and keep it short, since the run past the conversion is unbalanced. If the speakers offer RCA instead, XLR to RCA wired the same way is tidier still.
- Balanced DAC to a portable speaker or boombox: the same stereo lead, and turn the DAC's output down first. Fixed level pro outputs can pin a small speaker's input stage into distortion at full send.
- Mixer or interface to a camera: the hardest case. Camera 3.5mm inputs are usually mic level, forty or more decibels below what the desk sends. Use an attenuating lead or an inline pad, switch the camera to line input if it offers one, and disable automatic gain control, which will otherwise pump the noise floor up and down under your dialogue.
- Mono destinations: a single XLR to 3.5mm lead, pin 2 to the tip, suits a mono powered speaker or a single recorder channel. Do not merge left and right into one leg with a plain wired cable; summing outputs electrically can stress the source's output stage. If you need both channels summed, that is a build with summing resistors, and we make those to order.
The 6.35mm variant
Everything above applies identically when the unbalanced end is the full size 6.35mm jack found on older gear, guitar level inputs and headphone outputs repurposed as feeds. The wiring is the same, tip and sleeve, and the same cautions about level and ground loops carry over. The only extra check is whether the 6.35mm socket is stereo TRS or mono TS, because a TRS plug pushed into a TS socket can leave the ring contact shorted to the sleeve; electrically harmless here, but it silently discards the right channel on a stereo link. Match the plug to the socket and the problem never arises.
Adapters versus a proper cable
Stub adapters, a 3.5mm socket hanging off an XLR shell, have their place on a test bench. In a rig, they are a poor idea. The adapter concentrates the weight of a cable on the socket, the wiring inside is usually the generic sort that leaves the cold leg floating or the shield intermittent, and each one adds two contact interfaces to a path that was fine without them. For anything permanent, a single cable wired for the conversion is quieter, more reliable and cheaper than the collection of adapters it replaces.
One trap deserves a specific warning: the search results are full of XLR to 3.5mm leads wired pin 2 and pin 3 straight to tip and ring, as if the 3.5mm jack were a balanced input. It almost never is. Plug that cable into a normal stereo input and the two channels arrive in reverse phase on a shared contact, which sounds like a hole in the middle of the music. Check the wiring description before you buy, or buy from someone who will tell you.
Fixing hum
Hum after the conversion is almost always a ground loop: source and destination earthed through different power outlets, with the cable shield now offering the loop a path. The fixes, in the order we try them. First, power both devices from the same board where you can. Second, if a laptop is involved, run it on battery; the charger is the loop more often than not. Third, insert a proper audio isolation transformer at the unbalanced end, a small passive box that passes the signal and breaks the ground. What you must never do is lift the mains earth on either device: the safety earth exists for the day something goes wrong, and no hum is worth defeating it.
If hum persists between components that simply will not coexist, converting through a small DAC or audio interface at the destination end, as described in our 3.5mm to RCA guide for the home version of this problem, usually sidesteps the mismatch entirely.
Our recommendation
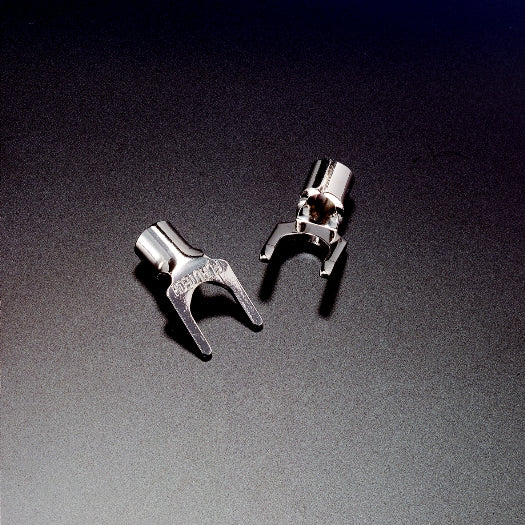
Measure the distance, decide left and right or mono, and have one cable built for the conversion rather than stacking adapters. Our analogue interconnects category covers the shielded wire and connectors we build with, and the custom order form is where XLR to 3.5mm leads get specified: tell us the source, the destination and the length, and we will wire it correctly, pin 3 tied at the source, shield doing its job, tested before it leaves. It is a modest build that solves the problem once instead of leasing it back adapter by adapter.